系列
前言
- 上一章节中,我们开发了一个基础的新打开页面,将对其继续完善。
本章节内容
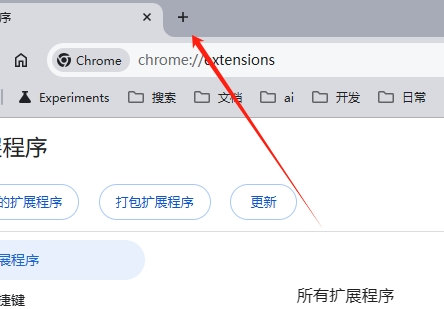
- 谷歌插件调取api设置
- 调取每日必应壁纸,将其设置为背景图
- 识别图片颜色调整字体颜色
- 壁纸下载蒙版
- 设置文字蒙层等
本章节内容
- 谷歌插件调取api设置
- 调取每日必应壁纸,将其设置为背景图
- 识别图片颜色调整字体颜色
- 壁纸下载蒙版
- 设置文字蒙层等
目录介绍
my-new-tab/
├── images/             # 存放静态资源,如图片、字体等
│   ├── download.svg
│   ├── icon16.png
│   ├── icon48.png
│   ├── icon128.png
├── manifest.json # 这里是谷歌浏览器的基础配置文件,可以设置插件标题、图标、使用权限等。
├── background.js # 这里是我们将使用的一个后台脚本,可以用来管理插件的生命周期,或进行数据存储等。
├── newtab.html # 这里是我们新开标签页内容
├── newtab.css # 标签页样式
├── icon.png
└── newtab.js # 标签页js
谷歌插件调起api设置\调取每日必应壁纸,将其设置为背景图
manifest.json 中添加host_permissions项
    "host_permissions": [
        "https://cn.bing.com/*"
    ],
- 通过后我们可以调取这个域名下的所有接口
- 在
background.js中调起必应的每日壁纸接口
- 需要注意的是,我们使用了
chrome.runtime.onMessage.addListener消息监听器,当收到消息时,该函数会被触发。
// chrome.runtime.onInstalled.addListener(() => {
//   console.log("Custom New Tab Extension Installed!");
// });

chrome.runtime.onMessage.addListener((request, sender, sendResponse) => {
  console.log('接收到请求:', request);
  if (request.action === 'fetchBackgroundImage') {
    fetch('https://cn.bing.com/HPImageArchive.aspx?format=js&idx=0&n=1&mkt=zh-CN')
      .then(response => response.json())
      .then(data => {
        // console.log('背景图数据:', data);  // 调试信息
        const imageUrl = 'https://cn.bing.com' + data.images[0].url;
        sendResponse({ imageUrl });
      })
      .catch(error => {
        // console.error('背景图片加载失败:', error);
        sendResponse({ error: '背景图片加载失败' });
      });
    return true;  // 需要异步响应
  }
});
- 在
newtab.js中获取页面背景
- 值得注意的是我们使用了
chrome.runtime.sendMessage调起监听器,获取到了请求的图片链接
- 然后添加了缓存,避免重复调起接口
applyBackgroundImage()获取到背景图后设置背景
// 注释了第一小节更换背景颜色的内容
// document.getElementById('change-background').addEventListener('click', () => {
//   const backgrounds = ['#FFEB3B', '#8BC34A', '#03A9F4', '#FF5722'];
//   const randomColor = backgrounds[Math.floor(Math.random() * backgrounds.length)];
//   document.body.style.backgroundColor = randomColor;
// });

// 获取背景图片的 URL 并更新页面背景
function setBackgroundImage() {
  const cachedImageUrl = localStorage.getItem('cachedImageUrl');
  const cacheTime = localStorage.getItem('cacheTime');
  const currentTime = new Date().getTime();
  const cacheDuration = 60 * 60 * 1000; // 缓存1小时
  if (cachedImageUrl && cacheTime && (currentTime - cacheTime < cacheDuration)) {
    imageUrl = cachedImageUrl;
    // imageUrl = 'images/wallhaven-l83e5l.png'; // 黑色测试图
    // imageUrl = 'images/wallhaven-k7pljd.jpg'; // 白色测试图
    applyBackgroundImage();
  } else {
    chrome.runtime.sendMessage(
      { action: 'fetchBackgroundImage' },
      (response) => {
        if (response.error) {
          console.error(response.error);
        } else {
          imageUrl = response.imageUrl;
          imageUrl = imageUrl.replaceAll('1920x1080', 'UHD');
          // console.log(imageUrl);
          // document.body.style.backgroundImage = `url(${imageUrl})`;
          // document.body.style.backgroundSize = 'cover';
          // document.body.style.backgroundPosition = 'center center';
          localStorage.setItem('cachedImageUrl', imageUrl);
          localStorage.setItem('cacheTime', currentTime);
          applyBackgroundImage()
        }
      }
    );
  }
  // 调整字体颜色
  // adjustTextColor(imageUrl);
}

// 更改背景颜色
function applyBackgroundImage() {
  document.body.style.backgroundImage = `url(${imageUrl})`;
  document.body.style.backgroundSize = 'cover';
  document.body.style.backgroundPosition = 'center center';
}

// 页面加载时调用函数设置背景
window.onload = setBackgroundImage;
body {
  margin: 0;
  padding: 0;
  height: 100vh;
  display: flex;
  flex-direction: column;
  justify-content: space-between;
  align-items: center;
  color: white;
  font-family: Arial, sans-serif;
  background-color: #000;
}

header {
  text-align: center;
  margin-top: 20px;
}

button {
  background-color: rgba(0, 0, 0, 0.6);
  color: white;
  border: none;
  padding: 10px 20px;
  font-size: 16px;
  cursor: pointer;
  margin-top: 10px;
}

button:hover {
  background-color: rgba(0, 0, 0, 0.8);
}

main {
  text-align: center;
  margin-top: 20px;
  z-index: 2;
}

#quote {
  font-style: italic;
  margin-top: 10px;
}

footer {
  text-align: center;
  margin-bottom: 20px;
}
- 注释掉了
newtab.html中的颜色切换按钮<!-- <button id="change-background">更换背景</button> -->
- 结果
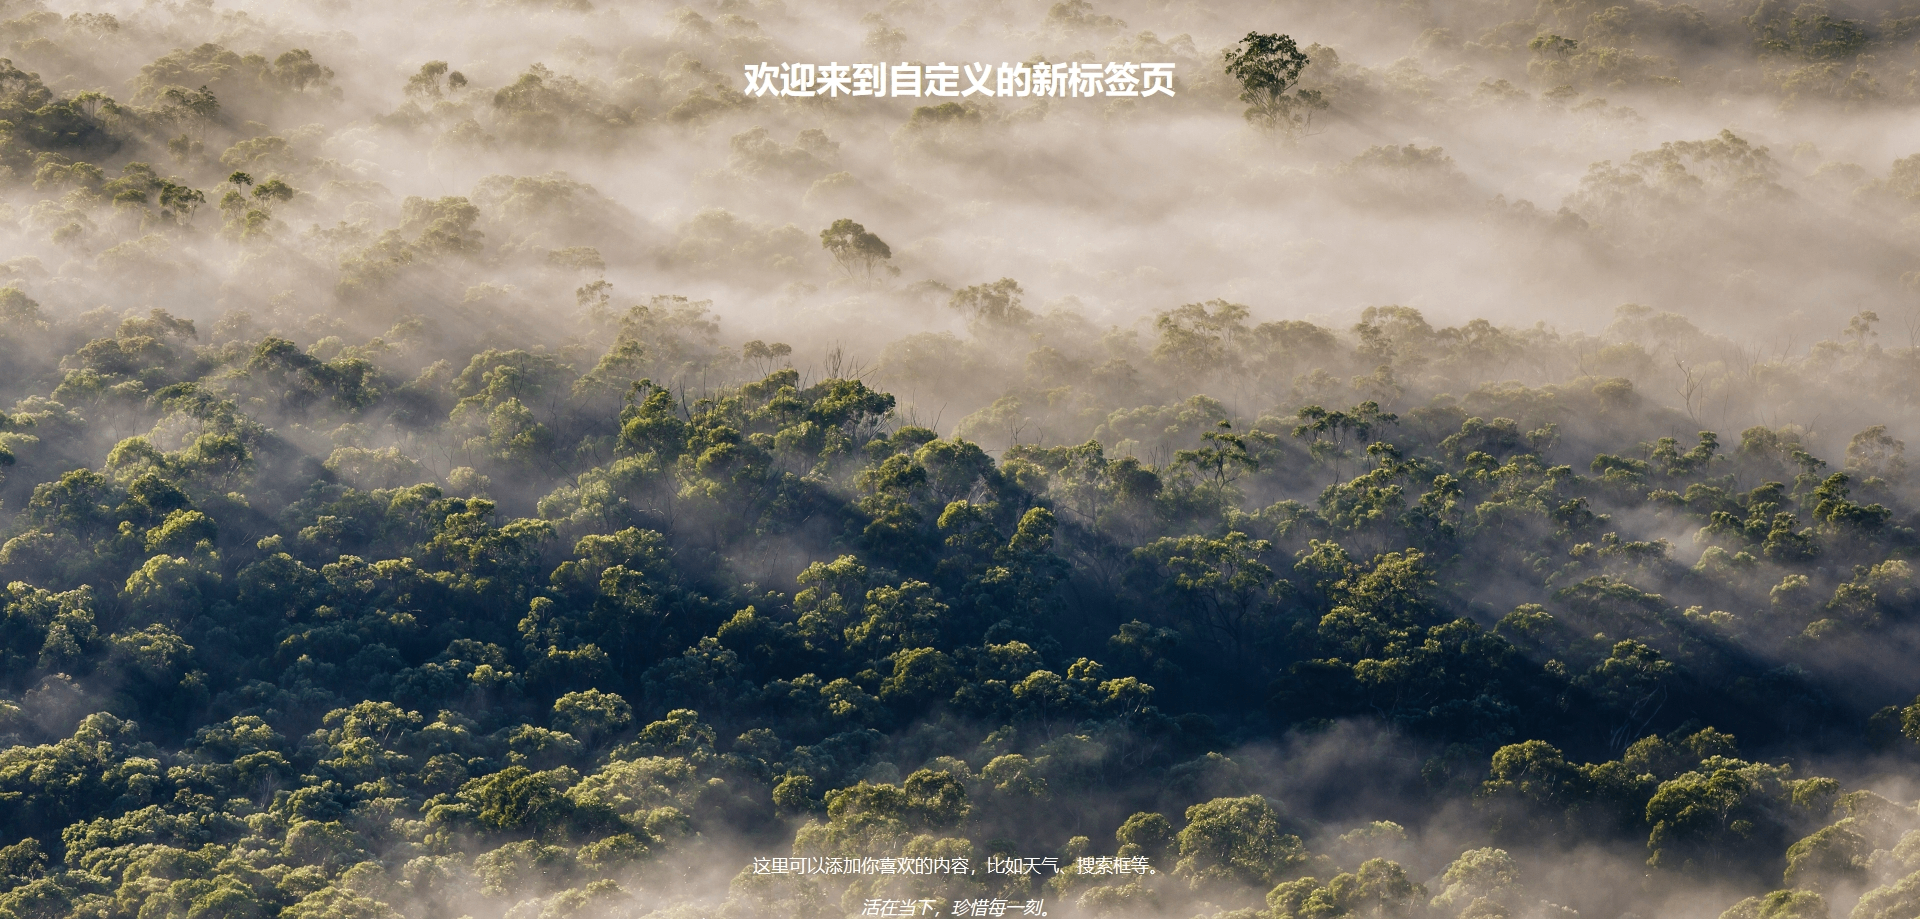
识别图片颜色调整字体颜色
- 再写完背景内容后,我发现了一个很尴尬的事情,因为背景是每天随机的,有些较黑的图看白色字体还好、白色的图字就完全看不见了,于是我调整了一下我的方法。
- 我这里使用了
HTML5 canvas 来分析图片的背景颜色,并根据这个背景颜色来调整字体。
- 在
newtab.js添加
// 获取背景图片的主要颜色
function getBackgroundColor(imageUrl) {
  const img = new Image();
  img.src = imageUrl;

  return new Promise((resolve, reject) => {
    img.onload = function () {
      const canvas = document.createElement('canvas');
      const ctx = canvas.getContext('2d');
      canvas.width = img.width;
      canvas.height = img.height;
      ctx.drawImage(img, 0, 0, img.width, img.height);

      const imageData = ctx.getImageData(0, 0, img.width, img.height);
      const data = imageData.data;
      let r = 0, g = 0, b = 0;

      for (let i = 0; i < data.length; i += 4) {
        r += data[i];     // Red
        g += data[i + 1]; // Green
        b += data[i + 2]; // Blue
      }

      const pixelCount = data.length / 4;
      r = r / pixelCount;
      g = g / pixelCount;
      b = b / pixelCount;

      resolve({ r, g, b });
    };
    img.onerror = function () {
      reject('图片加载失败');
    };
  });
}

// 计算颜色的亮度
function getBrightness(color) {
  return 0.2126 * color.r + 0.7152 * color.g + 0.0722 * color.b;
}

// 根据图片的亮度调整字体颜色
async function adjustTextColor(imageUrl) {
  const backgroundColor = await getBackgroundColor(imageUrl);
  // console.log(backgroundColor);
  const brightness = getBrightness(backgroundColor);
  console.log(brightness);
  const elements = [title, introduce, quote];
  const color = brightness < 128 ? 'white' : 'black';
  elements.forEach(el => el.style.color = color);
}
getAverageColor:这段代码通过在 canvas 上绘制图片,计算图像的平均颜色。getBrightness:基于常见的加权亮度公式(0.2126 * r + 0.7152 * g + 0.0722 * b)计算颜色的亮度。- 字体颜色调整:如果图片的亮度低于一个阈值(在这里是128),则使用白色字体,否则使用黑色字体。
- 最后在中使用它
newtab.js
function getBackgroundColor(imageUrl) {
    // 最后
    // 调整字体颜色
    adjustTextColor(imageUrl);
}
- 添加一些测试图片,看看效果
- 当图片白色时,字体为黑色
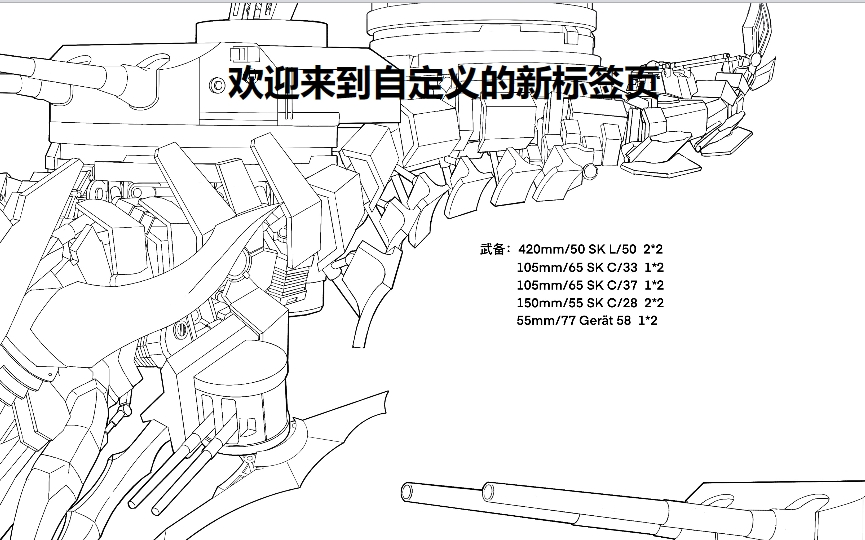
- 当图片为黑色时,字体为白色。
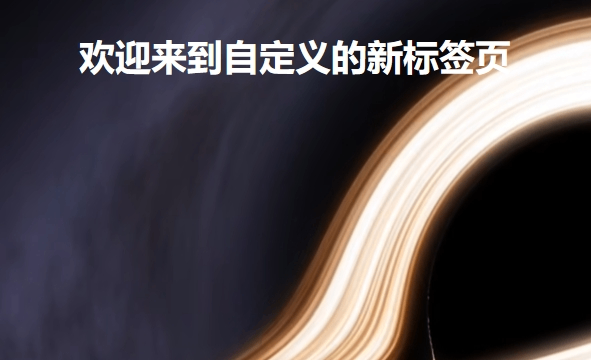
- 大家可以根据不同需要调整。
添加一个背景下载蒙版
- 哈哈,这里是我的一些收集癖好,因为有的必应壁纸蛮好看。所以添加一下\~
- 更新
background.js,之前只返回了图片链接,这里将整体的图片信息都返回了。
    const imageInfo = data.images[0];
    imageInfo.url = 'https://cn.bing.com' + data.images[0].url;
    sendResponse({ imageInfo });
- 更新
newtab.js调整了缓存内容、与展示了下载信息
setBackgroundImage()
var responseData;

function setBackgroundImage() {
  const cachedImageUrl = localStorage.getItem('cachedImageUrl');
  const cachedresponseData = localStorage.getItem('bingResponse');
  const cacheTime = localStorage.getItem('cacheTime');
  const currentTime = new Date().getTime();
  const cacheDuration = 60 * 60 * 1000; // 缓存1小时
  if (cachedImageUrl && cacheTime && (currentTime - cacheTime < cacheDuration)) {
    imageUrl = cachedImageUrl;
    responseData = cachedresponseData;
    // imageUrl = 'images/wallhaven-l83e5l.png'; // 黑色测试图
    // imageUrl = 'images/wallhaven-k7pljd.jpg'; // 白色测试图
    applyBackgroundImage();
  } else {
    chrome.runtime.sendMessage(
      { action: 'fetchBackgroundImage' },
      (response) => {
        if (response.error) {
          console.error(response.error);
        } else {

          imageUrl = response.imageInfo.url;
          imageUrl = imageUrl.replaceAll('1920x1080', 'UHD');
          responseData = response;

          localStorage.setItem('cachedImageUrl', imageUrl);
          localStorage.setItem('bingResponse', JSON.stringify(response));
          localStorage.setItem('cacheTime', currentTime);

          applyBackgroundImage()
        }
      }
    );
  }
  // 调整字体颜色
  adjustTextColor(imageUrl);
}
applyBackgroundImage() 加入了移入下载按钮样式等
function applyBackgroundImage() {
document.body.style.backgroundImage = `url(${imageUrl})`;
document.body.style.backgroundSize = 'cover';
document.body.style.backgroundPosition = 'center center';
document.getElementById('download-button').addEventListener('mouseover', function () {
// 鼠标移入时显示卡片
document.querySelector('.card').style.display = 'block';
});
document.getElementById('download-button').addEventListener('mouseout', function () {
// 鼠标移出时隐藏卡片
document.querySelector('.card').style.display = 'none';
});
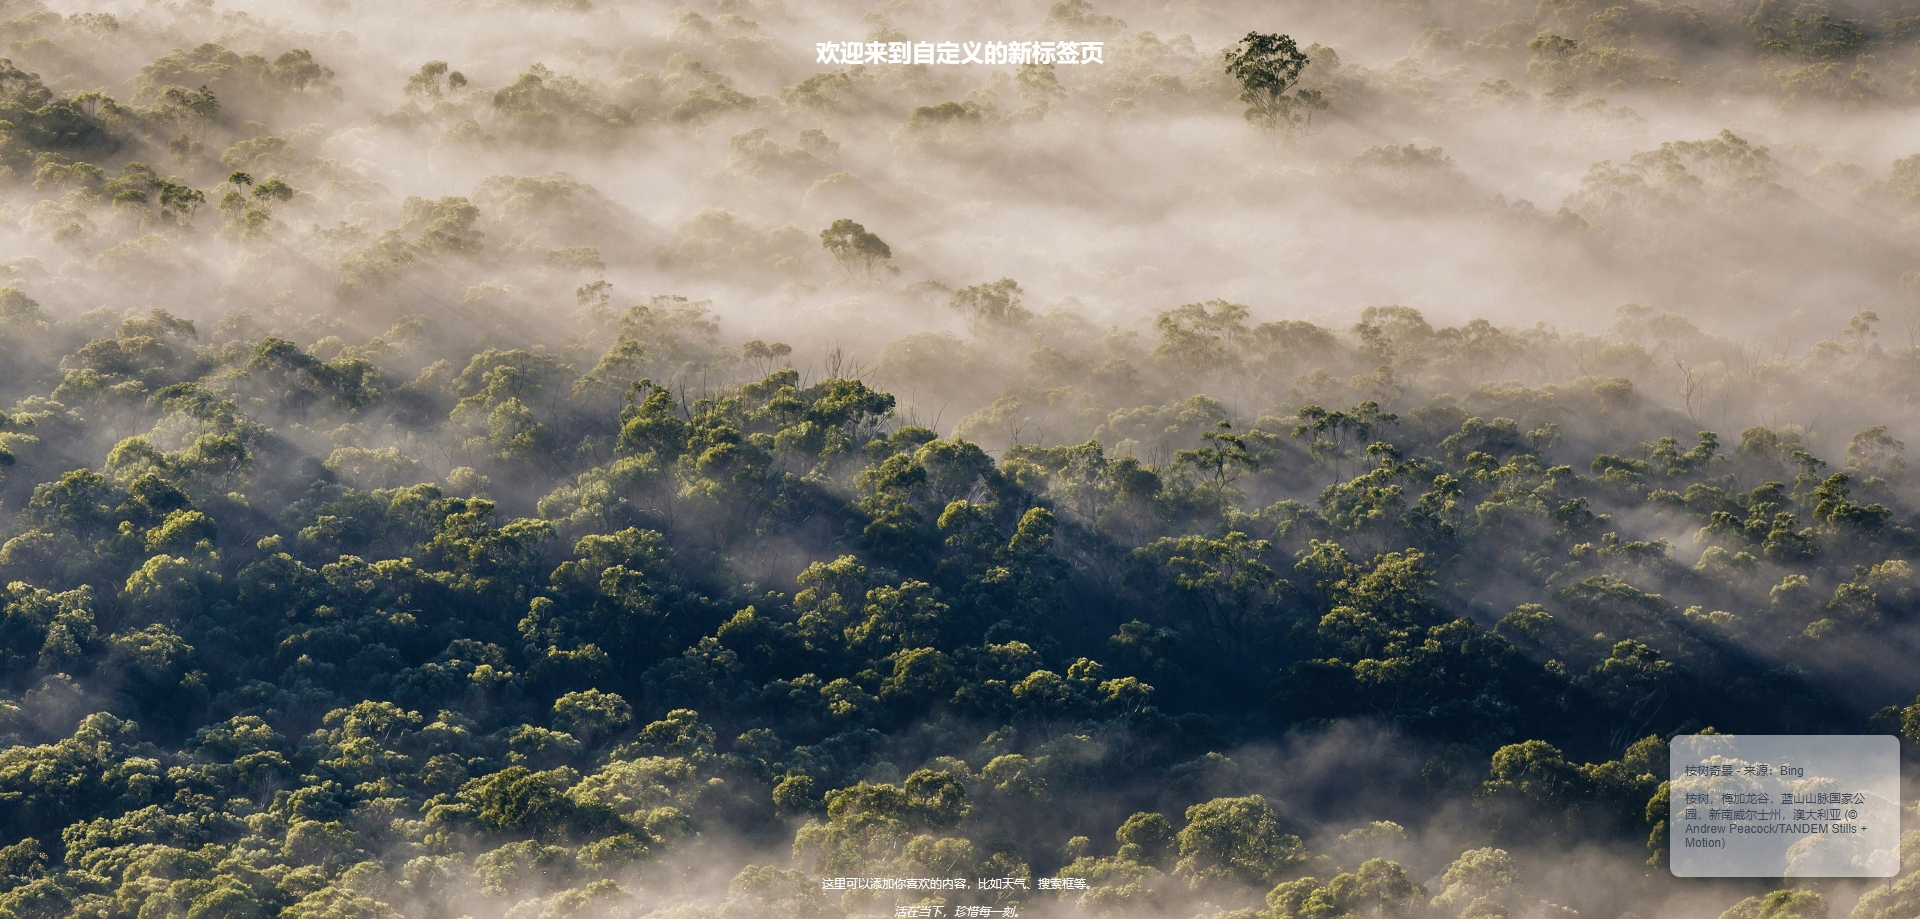
document.getElementById("img-title").textContent = responseData.imageInfo.title + " - 来源:Bing";
document.getElementById("img-info").textContent = responseData.imageInfo.copyright;
document.getElementById('download-button').addEventListener('click', function () {
window.open(imageUrl, '_blank');
});
}
  <img id="download-button" src="images/download.svg" alt="壁纸下载" title="壁纸下载" style="
            width: 20px;
            height: 20px;
            cursor: pointer;
            position: absolute;
            bottom: 20px;
            right: 20px;
        ">

  <div class="card" style="
  width: 200px;
  cursor: pointer;
  position: absolute;
  bottom: 42px;
  right: 20px;
  background-color: rgba(255, 255, 255, 0.5);  /* 使用rgba设置颜色和透明度 */
  border-radius: 10px;
  padding: 15px;
  box-shadow: 0 4px 8px 0 rgba(0, 0, 0, 0.2);
  display: none;
  ">
    <p id="img-title" style="color: #34495e;">壁纸下载</p>
    <p id="img-info" style="color: #34495e;">壁纸简介</p>
  </div>
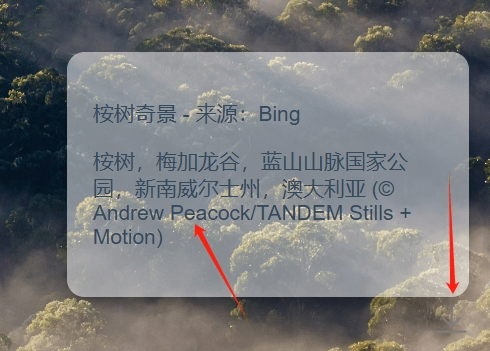
- 定义了一个下载按钮,移入后会显示图片的详细内容,点击后会跳转到图片的下载链接\~
- 因为后续我们可能需要自定义右键菜单栏,所以将下载按钮写在这里。
结果展示
结语
- 本小结中设置了新标签页的背景内容。
- 下一章我们会完善添加搜索,敬请期待\~
教程内容已同步到github,欢迎大家提交BUG,new-tab
